
Navigating 3D Printing: A Year of Personal Experience
Introduction
This post explores tips learned from a year of 3D printing, starting with the acquisition of a Creality K1 Max. It’s an overview of things you should know before starting this journey, along with some lessons I wish I had learned earlier.
Key takeaways:
- Be prepared for troubleshooting and maintenance
- Research 3D models before purchasing a printer
- Understand different types of plastics and their properties
- Learn about slicing software and its importance
- Consider safety and environmental aspects of 3D printing
I’ve wanted a 3D printer since around 2010 when my friend built his RepRap using parts from AliExpress, but I never had a use case, and enough free time to deal with the machine that requires all your time.
Aside from interest, I made no effort to acquire a 3D printer until thirteen years later, in 2023, when I finally purchased my own.
Ukraine is in a war with Russia, defending its territory, and surprisingly printing plastic is no longer a joke, it has evolved into a decentralized movement capable of producing thousands of parts required by soldiers on the frontlines efficiently.
Despite such a negative context, one of my old interests got materialized, and after a couple of toys and useful things that you print as soon as you get your hands on the printer, you can immediately shift to producing ammunition bodies, used as a payload for drones later.
3D Models
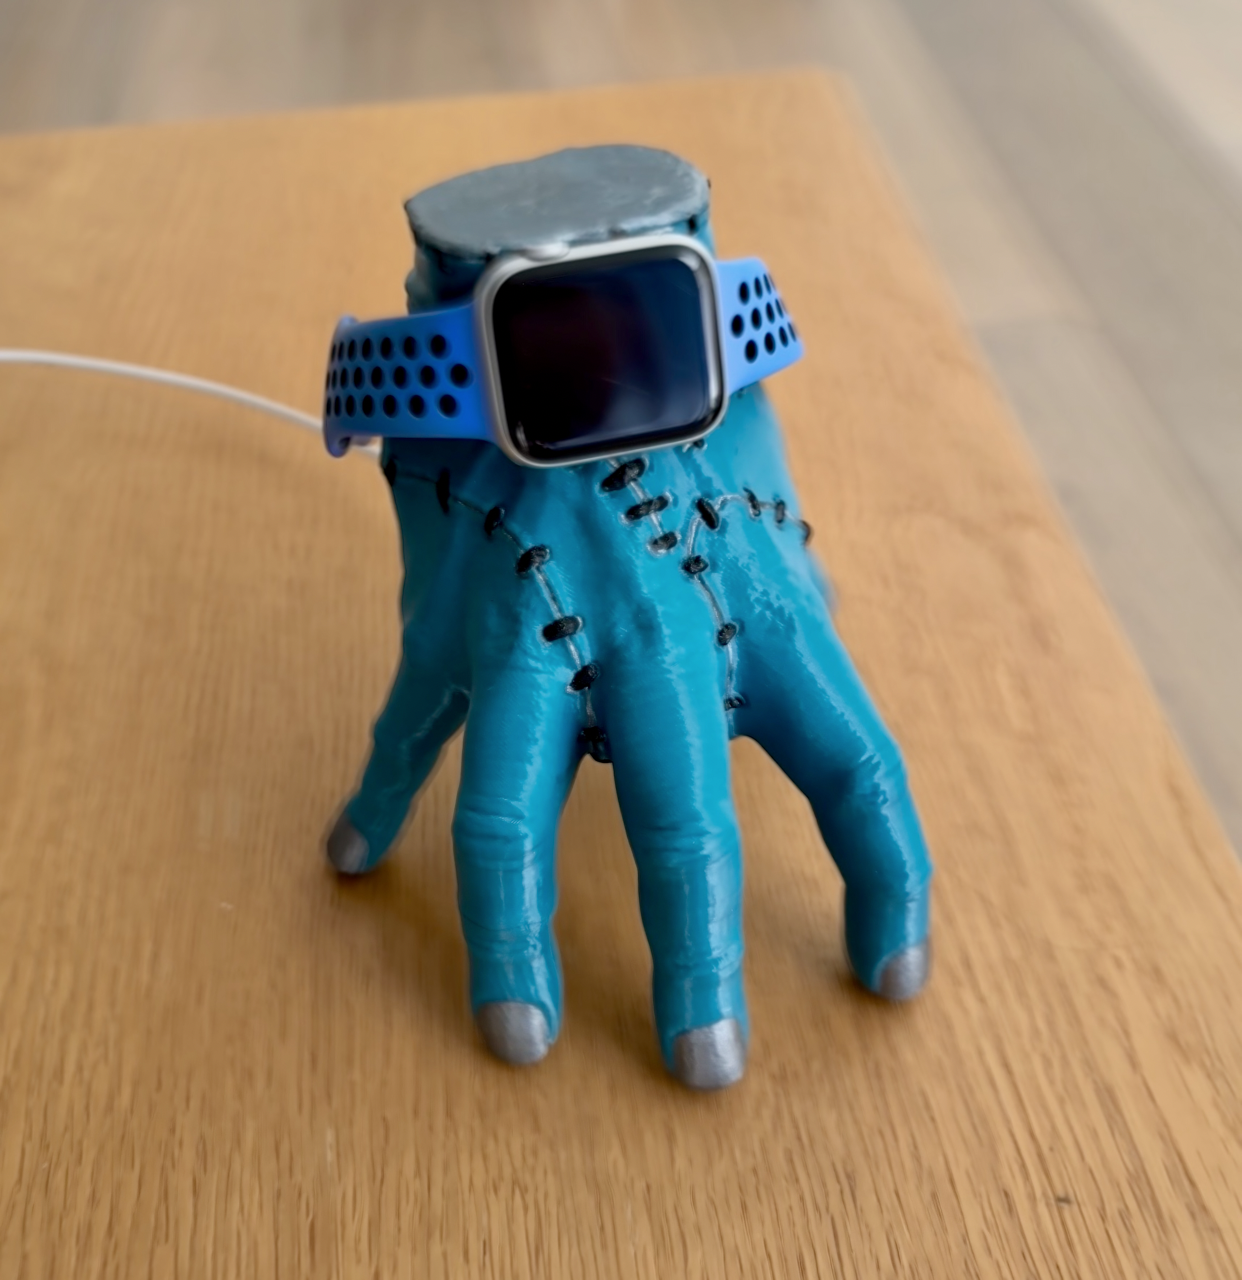
Before even looking at printers, ask yourself if you’re actually going to print something. Check the most popular resources for models that you’ll be able to use for your hobby once you get the printer to make sure this won’t be a one-time-use expensive purchase. Even if it’s just a one-time enjoyment, you might acquire a unique and interesting Thing.
Popular 3D Model Repositories
- Printables - After almost a year of searching models, I ended up on this website, where I find almost everything I’m looking for. This website has a nice modern interface, fast, has ratings and comments, and it is actively maintained.
- Thingiverse - The first collection of models I discovered, still checking it from time to time, but its navigation is a bit less usable compared to printables.
- Creality Cloud - Most models require payment, so I promptly skipped that choice.
- Google Search - “{thing you want} +stl” - Yeggi, Cults3D, and more websites will appear, many of these platforms sell models, but also offer free options. The availability depends on your specific needs.
- Drukarmy - This one is very Ukraine-specific, this is a platform where we print specifically for Army, community accepts requests for parts from Army, print and delivers them free of charge (based on donations), and also works with the feedback in order to improve models for specific needs to make them more efficient.
Choosing a model for printing is as crucial as selecting your printer and filament. Some models are more challenging to print than others. Certain designs require special configurations or supports, adding complexity to the process.
STL Files
STL (STereoLithography) is the most common file format for 3D printing. It describes only the surface geometry of a three-dimensional object without any representation of color, texture or other common CAD model attributes. Always ensure you have the right to use and print the STL files you download, especially if you plan to use them for commercial purposes.
Modifying Existing Models
There are times when you might need to take your Dremel and cut a hole in a part to fit another part in, and “this is good enough” to do its job without spending extra couple hours searching for some models or building them from scratch, dealing with precise measurements, etc. If that’s not the case, you can always design your own model based on your needs or modify existing if you got it in the compatible file type.
-
3dShapr- my choice for engineering projects, because of its simplicity of use. The only concern is the price for the full version; the company is not willing to distribute this product among hobbyists, so you either stick to the free version or pay as if you were a 3D constructor. -
Blender- in case you need to modify another sculpture or model that is not available in CAD formats. - Two apps mentioned above solved every need I had, so I’m not listing thousands of options here.
3D Scanning
While professional 3D scanners are often expensive, hobbyists can use smartphone apps and DIY solutions for decent results. I tested a few iOS apps that use LIDAR to create sculptures from objects and achieved usable outcomes.
Printer Selection
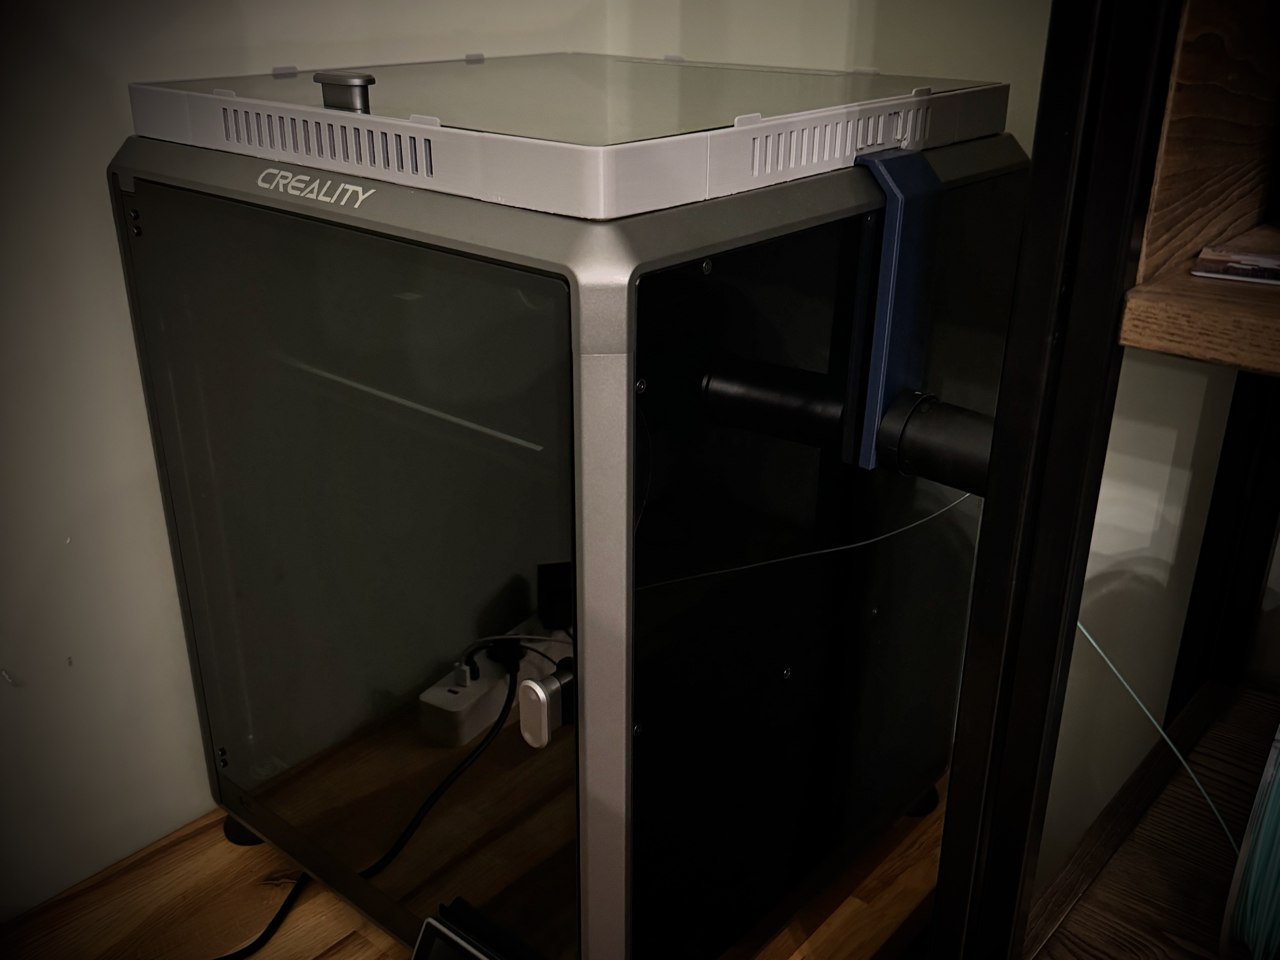
My goal was to find a user-friendly machine that requires minimal effort to operate. Reddit users were enthusiastic about the new Creality K1 / K1 Max, describing it as the ideal tool for my needs. Bamboo offered another easy-to-use option with positive community feedback, but it cost nearly twice as much as Creality in the local market.
When I first bought a printer, I didn’t realize I’d become both an operator and a mechanic. Regular use taught me more than just printing; I learned to troubleshoot and repair it as well. This seems to apply to printers at any price point, so be prepared to invest time in learning.
Key Factors in Printer Selection
-
Build Volume: This determines the maximum size of objects you can print. Consider what you plan to print most often.
-
Print Speed: Faster isn’t always better. Balance speed with quality based on your needs. While my K1 Max was marketed as a fast printer, high-speed printing doesn’t work well for every model.
-
Supported Materials: Ensure the printer can handle the types of filament you want to use.
-
Print Quality: Look at the minimum layer height and XY precision for an idea of the detail level the printer can achieve.
-
Ease of Use: Consider features like auto-leveling beds, filament sensors, and user-friendly interfaces.
-
Community Support: A printer with a large user base often means more resources for troubleshooting and upgrades.
FDM vs. Resin Printers
-
FDM (Fused Deposition Modeling): These printers, like the Creality K1 Max, use a heated nozzle to extrude molten plastic. They’re generally easier to use, have lower operating costs, and are suitable for larger prints.
-
Resin Printers: These devices use UV light to cure liquid resin layer by layer, producing highly detailed prints with smooth surfaces. They offer impressive results but are messier to use and have higher material costs. The printing process resembles a scene from Breaking Bad, requiring safety gear like rubber gloves and respiratory masks due to the chemistry involved.
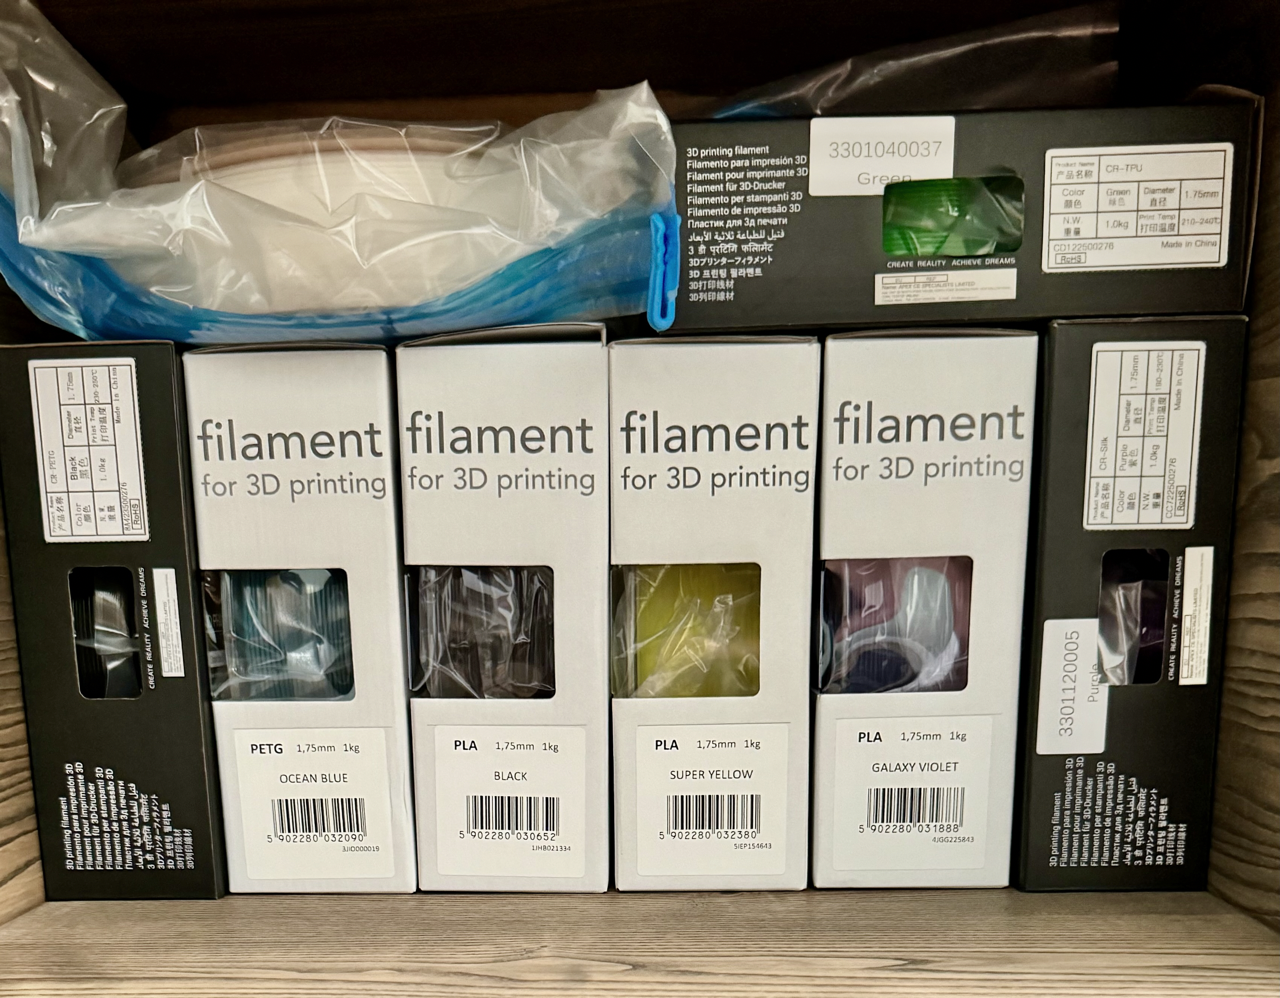
Choosing Plastic
Okay, we’ve got a printer and a model. What do we do next? Let’s figure out which type of plastic we need. Depending on the plastic, your end result could be stronger or softer, may survive sunlight, or might even melt. Or perhaps you want to print your crocs and need a rubbery material, not a hard plastic?
| Material | Ease of Print | Heat Resistance | Water Resistance | Flexibility | Other Characteristics | Print Temp Range (°C) |
|---|---|---|---|---|---|---|
| PLA | Easy | Low | Low | Low | Eco-friendly | 180-220 |
| PETG | Moderate | High | High | Low | Durable | 220-250 |
| TPU | Moderate | Moderate | High | High | Flexible, wear resistant | 210-230 |
| Silk, Wood, Carbon | Varies | Varies | Varies | Varies | Fun to experiment, situational uses | Varies |
| ABS | Difficult | High | Moderate | Low | Toxic, requires high temperatures | 220-250 |
For your initial prints, use PLA if you’re uncertain about material selection and plan to create non-engineering items like toys, decorations, or household gadgets.
Ventilation
Proper ventilation is crucial when 3D printing, especially with materials like ABS which can release harmful fumes. Always print in a well-ventilated area or consider using an enclosure with an air filtration system. Even with PLA, which is generally considered safe, it’s best to ensure good air circulation.
Slicing
3D printing transforms a 3D computer model into a physical object. To instruct the printer on how to melt and deposit the plastic, the model must first be sliced into layers. Each layer has a specific path that guides the nozzle to “draw” the object layer by layer.
Instructions obtained from slicing are essentially a large set of commands in the printer’s language. These commands explicitly direct the printer on various operations such as setting the temperature, determining coordinates, adjusting movement speed, and other routine tasks that the printer performs.
Slicing Software
Creality Print is the app I use, it’s native to my printer and pre-configured to the degree that “it just works” in most of the popular models that are proven to be printable.
Orca Slicer is another slicer I used, though I was not able to tweak its settings to the same quality as I got with Creality Print, only a few of models ended up being awesome.
Key Slicer Settings
-
Layer Height: Determines the thickness of each layer. Lower values give finer detail but increase print time.
-
Infill: The internal structure of the print. Higher percentages make the object stronger but use more material and time.
-
Support Structures: Generated structures to support overhangs in the model.
-
Print Speed: Affects print quality and time. Slower speeds generally yield better quality.
-
Temperature: Set based on the filament type and manufacturer recommendations.
Tips for Slicing
- Slicers provide a wide range of options that significantly affect the outcome of each print. It’s important to understand that every model is unique and might require a specific printing strategy.
- Don’t hesitate to adjust default settings if results look off. No single profile can perfectly suit every device, material, and environment.
- Always preview the slicing results to ensure your printer is not attempting the impossible, akin to drawing with a 3D pen in mid-air. Ask yourself: is it feasible to print this?
- Stick to the settings provided by a model author when possible at first, check the comments section for users sharing their experience printing this specific model you want.
- Changing the type of plastic — even if it’s the same brand or model—can invalidate your previous settings. Even minor variations in the plastic’s composition can alter the melting temperature, and if the filament diameter is off by as little as 0.05mm, it can yield different results. Additionally, changes in filament density or color additives can affect print quality and durability.
Printing
Bed Adhesion
- Adhesion Failures: A part may fail to adhere to the plate, leading to print failure. Verify that the plate temperature is set according to the plastic’s specifications. To improve adhesion, consider applying a glue stick or spray varnish to make the plate stickier.
- Removing Prints Carefully: If the print is attached too strongly, avoid using a metal knife to pry it off as this can damage the build plate. A damaged plate can compromise future prints due to uneven surfaces. It’s crucial to keep your plate straight and in good condition.
Maintenance and Calibration
Regular maintenance and calibration are crucial for consistent print quality:
-
Bed Leveling: Ensure your print bed is properly leveled. Many modern printers have auto-leveling features, but it’s still good to check periodically.
-
Nozzle Cleaning: Clean your nozzle regularly to prevent clogs and ensure smooth filament flow.
-
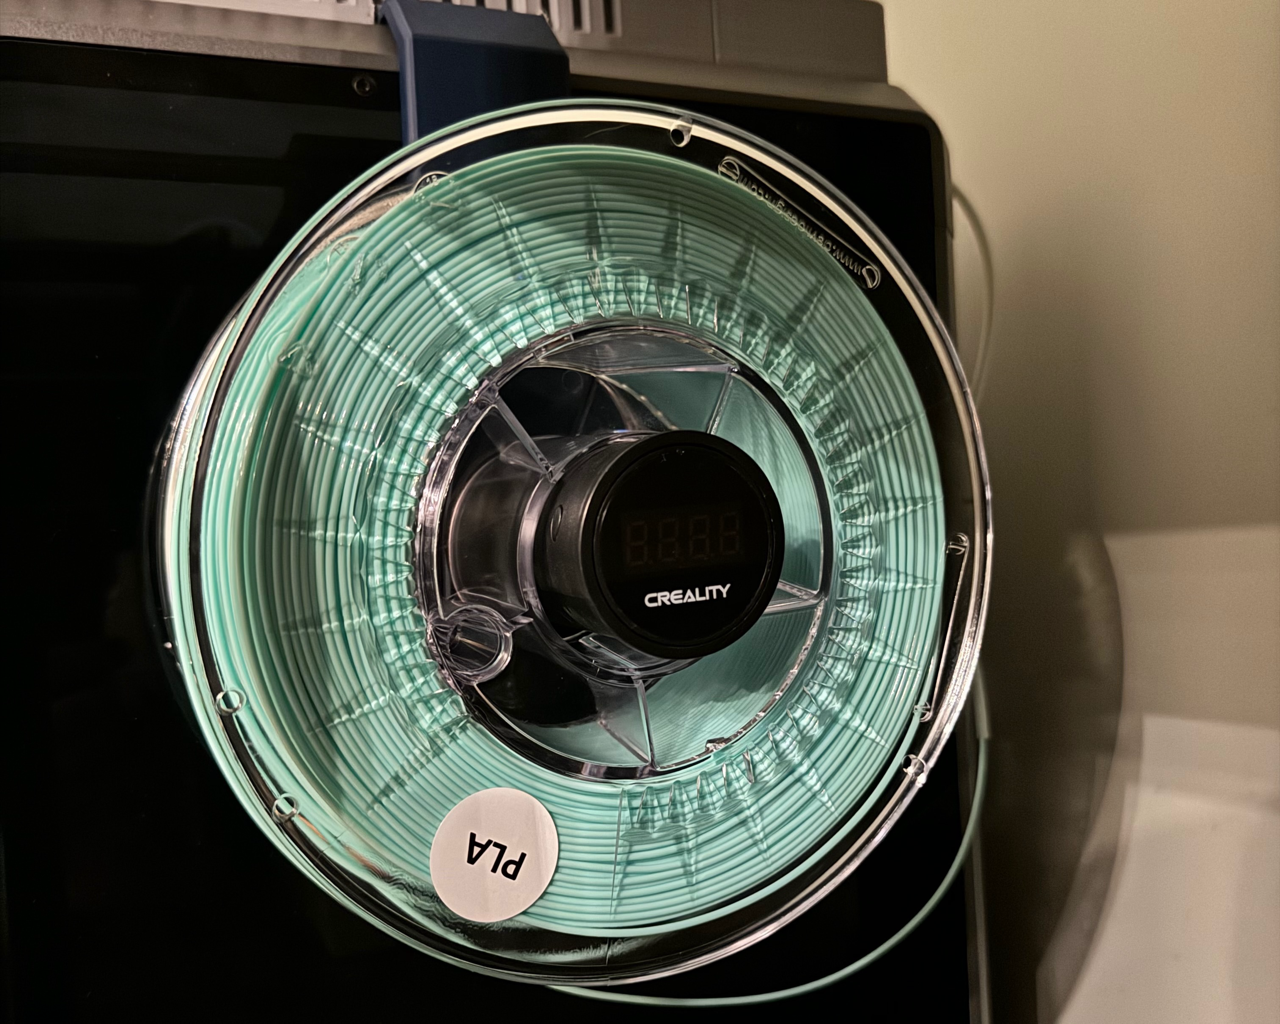
Filament Storage: Store filament in a dry place. Many filaments are hygroscopic and can absorb moisture from the air, affecting print quality.
-
Belt Tension: Check and adjust belt tension as needed to maintain print accuracy.
-
Firmware Updates: As a software engineer I would say keep your printer’s firmware up to date to benefit from bug fixes and new features, in reality I regretted upgrading couple times cause I had to tweak settings after firmware introduced some cool new features that made my proven prints to start failing.
Common Issues and Troubleshooting
While I’ll provide a link to a comprehensive Print Quality Troubleshooting Guide, I’ll also highlight some common issues. This information is useful for search engines and newcomers who might underestimate the complexity of 3D printing.
| Issue | Description | Solution |
|---|---|---|
| Stringing | Thin strands of plastic between parts of the print | Adjust retraction settings; Lower print temperature |
| Warping | Corners of the print lifting off the bed | Use a brim or raft; Ensure proper bed adhesion and temperature |
| Layer Separation | Layers not adhering properly to each other | Check print temperature; Increase layer height slightly |
| Under-extrusion | Not enough plastic being extruded | Check for clogs; Adjust flow rate; Check filament quality |
| Over-extrusion | Too much plastic being extruded | Calibrate e-steps; Reduce flow rate |
K1 Max Specific Issues
- Filament stuck: Overheating plastic near extruder, fixed by recognizing the problem - do not print PLA in the closed printer unless there’s enough fresh air inside.
- Nozzle not heating as expected: Replaced hotend with the warranty.
- Filament runout sensor not working: Replaced sensor with the warranty.
- Nozzle made a hole in the center of the plate: There was a bug in one of the firmwares that corrupted print plate during calibration, fixed with the firmware upgrade and never happened again. Can potentially happen if you’re using custom GCODE - be careful with what you copy from the internet.
Upgrades
My initial goal was to get a printer that requires as close to none attention as possible, but there are few things I did to my printer to address some of the issues I had. The best thing any 3D printer can do is printing its own upgrades, I got two active upgrades that I use.
Top Lid Lift
Allows me to print PLA of one specific brand in the enclosure. If the lid is on its stock location, the heat makes clogs blocking the prints and wasting the plastic. This upgrade improves ventilation and helps maintain optimal printing temperatures.
Side Spool Holder
Allows me to use a digital spool holder with weights. This upgrade improves filament feeding and enables more accurate tracking of filament usage.
Other Common Upgrades
- Silent Fans: Reduce noise during printing.
- Better Cooling Systems: Improve print quality, especially for overhangs and bridges.
- Filament Dry Boxes: Keep filament dry during printing, especially useful for hygroscopic materials. I got one but used just a couple times.
Conclusions
Unless you get stuck printing the same model with the same plastic repeatedly, 3D printing is a hobby that requires considerable time, patience, and a learning curve to get familiar with the myriad of available options. It is gratifying to observe the results of your work, whether it’s for tiny home decor items or more practical uses.
Thanks for reading and good luck on your 3D printing journey!
Resources for Further Learning
-
Online Communities:
-
YouTube Channels: